When we decided to take on more of a “homesteading” lifestyle, I had to learn a lot. I was raised a city girl. I knew very little about canning. (My mom always canned. But other than snapping beans, I didn’t help out much) I didn’t know how to cook much less make anything from “scratch”. I had to do a bunch of research and there was a long process of trial and error.
In my research I learned more things than I really expected. One of those things was about the healing properties of Chicken Soup. I knew that when you were sick you ate chicken soup, but I never really knew why. As I researched I discovered that it wasn’t the mild soothing flavor that made you feel better, but it was the stock that packed the medicinal punch. Real chicken stock is made with the bones of chickens. The bones are simmered down and they produce gelatin that helps sooth your belly when you are sick. Gelatin is also high in protein, and protein helps your heal. So the quest for home made chicken stock was under way. After the chicken stock is made, what do you do with it? I don’t exactly have freezer space for all of this chicken stock, so I had to figure out how to store it. Canning the http://ourhomesteadingjourney.com/tags/chicken/chicken stock was really the only logical choice for our little homestead. So here is the process of making chicken stock and preserving it for a stable shelf life.http://ourhomesteadingjourney.com/tags/chicken/
 First, bust out the largest pot you have. I use a giant 18 quart stock pot. I save chicken bones from roasted chickens and scraps from our veggies. I just throw all that in freezer bags until I have enough for a batch of chicken stock. I try and wait to make chicken stock until it is cooler outside so I don’t heat up the house. But sometimes, the freezer gets too full of bags of chicken carcasses and veggie scraps or I run out of stock before it is time to can again. Throw all of your veggie scraps (carrots, celery, lovage, onions, garlic, parsley) and chicken bones into the stock pot and cover with water. Then add healthy amounts of salt and pepper. I don’t have exact measurements for the salt and pepper because I cook by smell and flavor. I would start with at least (if you are using a large stock pot) 4 tablespoons of salt and 1 tablespoons of pepper. I also add 1/2 cup of apple cider vinegar to the mix. It helps break down the bones to produce that wonderful gelatin that you are looking for in the finished product.
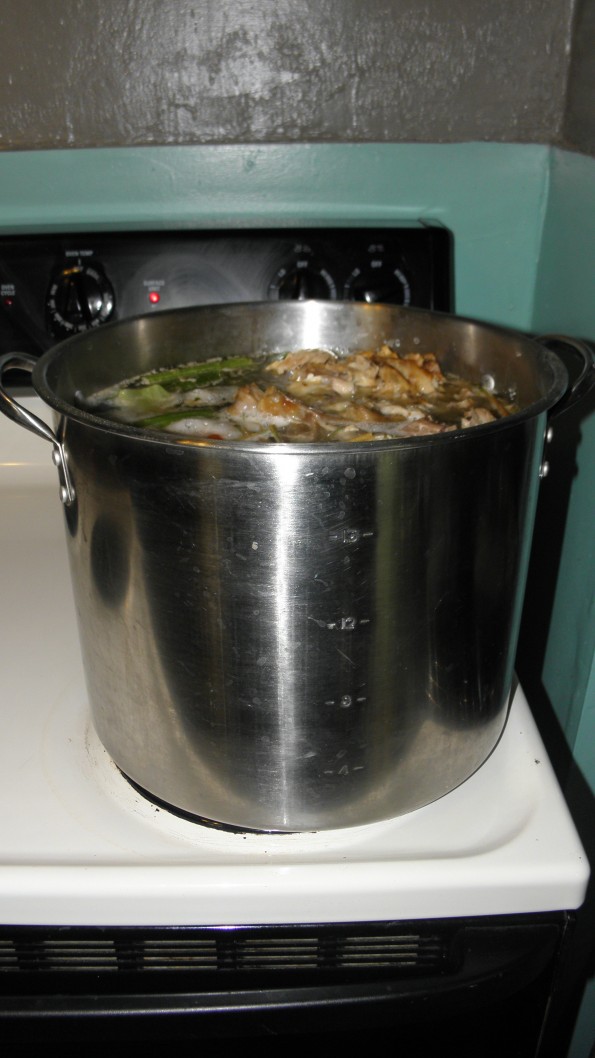 Now the long and slow process starts of making the stock. Cover the stock pot and simmer the bones and veggies for 2 days. I know it seems like a long time, but the longer you simmer them the richer your stock will be. You can add water to the pot as the fluid condenses. Some people make their stock in a roaster or even a crock pot. I, personally, prefer to do larger batches and get a lot done at one time. Make one giant mess at a time. You do not want the stock to come to a hard boil. Just a light simmer is preferred.
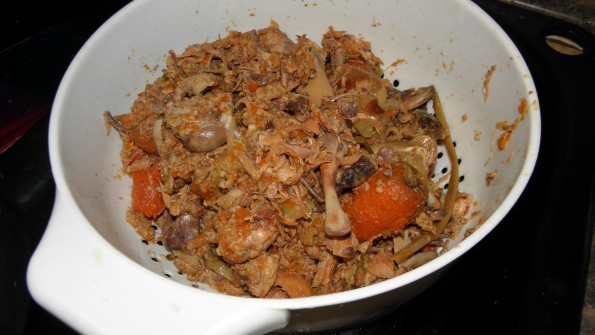 After the 2 days are up, it is time to strain the stock. Be careful with the pot. The stock will most likely be warm still and the pot will be heavy. It usually takes me and Tomithy to do this straining process to keep the mess to a minimum. Since we usually have such a large amount of veggies and bones in the freezer, after we strain, we put this mess back into the stock pot and add a couple more bags of the scraps to the water and boil again for 2 more days (adding the salt and pepper and the apple cider vinegar again). Like I said, get the mess done and over with at one time.
 After straining, the stock will be a rich golden color. We place it in the fridge over night so the fat can separate from the stock and it can be easily removed.
 This step isn’t necessary, but I prefer it. I just scrape off the top layer of the pot and put it in the scraps. All of our stock scraps that were strained off go out to our chickens. I know what you might be thinking. “Your chickens eat chicken?” Yes they do, and they love it.
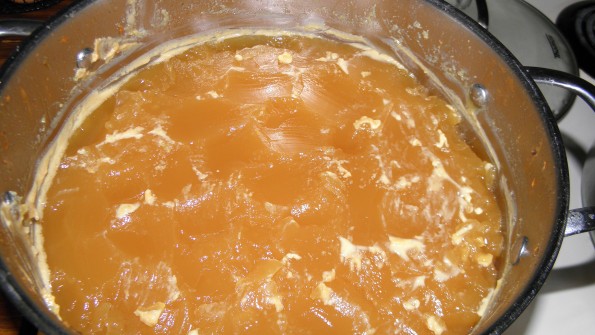 Once you scrape off all the fat, or at least most of it, you are left with chicken flavored gelatin. Hard to tell from this picture but it is actually a jello or jelly type texture. Now we heat this back up so we can start canning. As this is heating, sterilize your jars, rings, and lids. Be sure to sterilize your canner and tools as well.
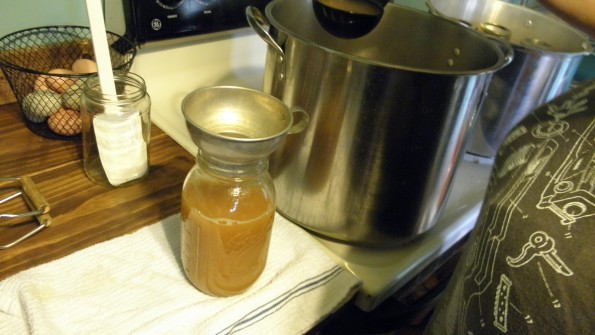 I use quart size jars to can my stock. It is the size I use the most for recipes. Slowly and carefully fill your hot sterilized jars with the hot chicken stock. Canning works the best if everything is HOT.
 Fill the jars until it has a 1 inch head space. Wipe the rim of the jar with a clean cloth. You can use a cloth that has been dipped into distilled vinegar to be sure that the rim is really clean and free of debris or grease. Place a hot sterilized lid on top and then place a ring on the jar. Remember, everything should be hot. The ring should be snug but not tight.
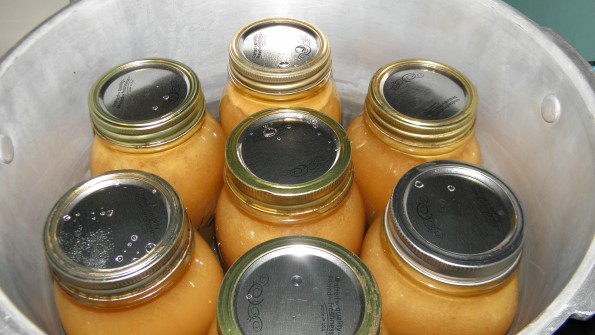 Place the prepared jars into your pressure canner. You must pressure can chicken stock. You can not water bathe it. Fill the canner about 1/3 of the way full with hot water. I also add 1 tablespoon of distilled vinegar to the water. It helps keep the outside of the jars calcium free and leaves them clear and not cloudy. You do not want to over fill your canner. Before using your pressure canner, be sure to read all directions for your canner. There is a lot of important safety tips in the directions.
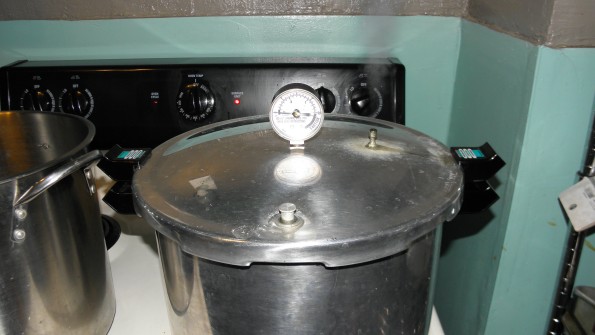 Attach your lid on to the canner. You want to allow the canner to steam from the vent pipe for 5 minutes before you place the pressure regulator on top. Once that has happened, place the regulator on top of the steam vent.
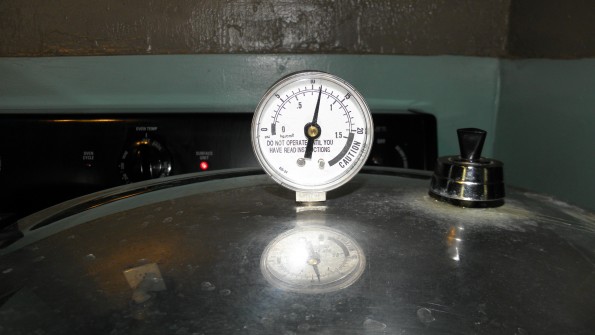 Now the pressure rises. For my altitude, I have to can quart size jars at 11 pounds for 25 minutes. This is where you need to stay in the kitchen and keep a close eye on the pressure. If your pressure drops under 11 pounds, you have to start the time over. You don’t want the pressure to go too high or you could have a big mess on your hands or someone could get hurt. DO NOT LEAVE THE CANNER UNATTENDED! It is always good to double check the National Center for Home Food Preservation for proper canning pressures and times. http://nchfp.uga.edu/how/can_05/stock_broth.html
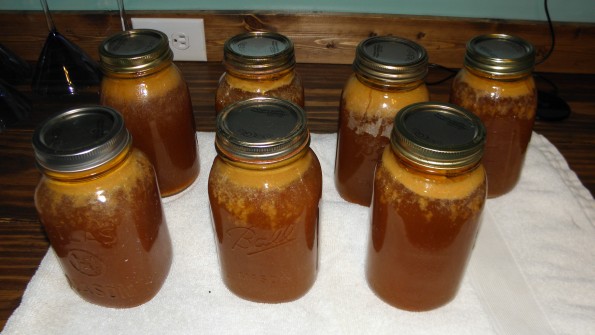 After the canner has processed your chicken stock for 25 minutes, allow the canner to slowly drop the pressure by turning off the heat. Leave the regulator on the steam vent and just walk away. After the pressure has dropped to 0 pounds on your gauge, slowly remove the lid from the canner opening the lid away from you. The jars will still be hot and there will be a lot of steam. Then take your handy jar grabber and gently remove the jars and place on a towel placing them about 2 inches apart. Listen to the “pings” (That’s my favorite part.) Allow the jars to sit undisturbed for 24 hours and then wash the outside of the jars with a damp cloth. Remove the rings, label and store.
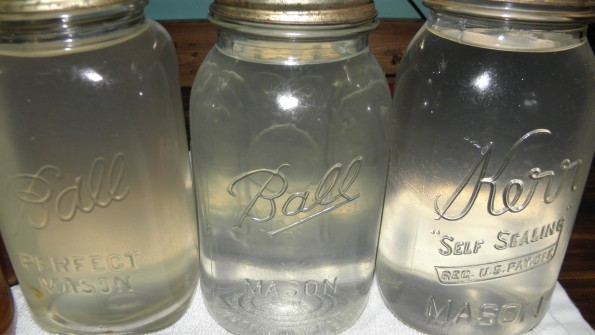 I had to do 2 canners full for my batch of stock. I had some extra room in the second round so I placed jars with water and about 1 tablespoon of lemon juice in them and canned the water. It is a great way to save some water for emergencies as well. Ya know, just in case.
I hope this helped understand why home made chicken stock is healthier for you. I also hope it helped you learn how to can the stock properly. I will admit, it is a big mess and it is time consuming. But in the end, the benefits out weigh the time.

0 comments on “Making and Canning Chicken Stock”Add yours →