The main part of homesteading is you do things yourself and only when you can afford to do those things. That is the case with the house we live in . As we save a little money, we tackle a project. Some projects cost more than others. and some projects take way longer than you expect. The story of the Kitchen is one of those cases. What we thought would cost $200 tops and only take a weekend (I know, I know, I have high hopes) actually is costing more like $451 and taking about 2 weeks. It has been a major learning experience and definitely full of its ups and downs. And like every great adventure, it has quite the story behind it.
I guess you could say this story starts about 7 years ago. We decided to purchase a “fixer- upper” in hopes to “flip” it and make some money. Well as we worked on the house, we fell
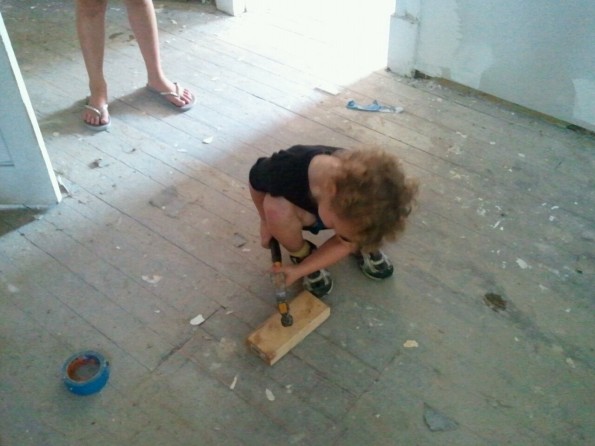
in love with it. It was more of a love/hate relationship most of the time, but we saw true potential. To give you an idea of the house’s condition when we bought, the replacement roof (an absolute must-do) cost more than the 98-year old house. But we were young and had a unhealthy appetite for adventure. Boy, at times, I felt we had bitten off more than we could chew. We had worked on this house, and worked on this house, and worked on this house until it about killed us. We were exhausted.
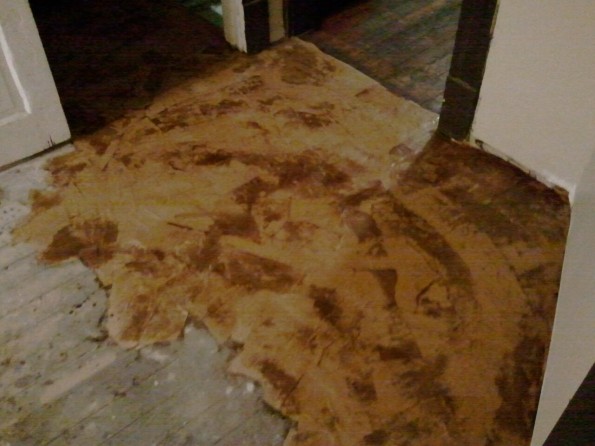
When we finally had the rooms painted, electric completely rewired, plumbing completely re-plumbed, the bathroom totally refinished and the floors refinished, we moved in. We went from a home with 650 sq feet to a 1500 sq ft home. We had room to breath. To spin until our heart was content. My first act in our new home, once all of our stuff was moved in and we were settled, was to
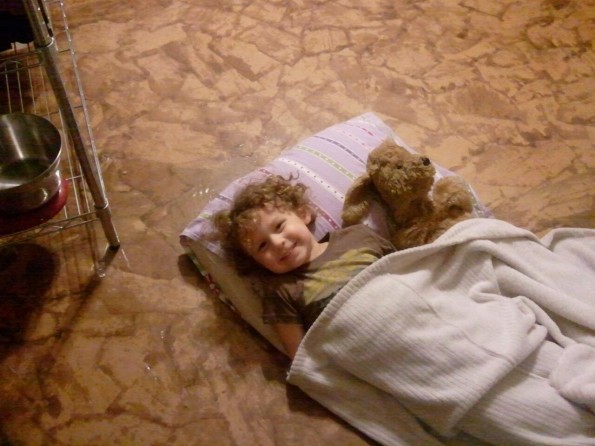
literally stand in the middle of the room with my arms outstretched and spin. This house had it all! Well all except a finished kitchen. The kitchen was functional. We had a sink, a stove, and a fridge. The only cabinet in the kitchen held up the sink. But, We had room! It was a reminder I had to keep telling myself.
Oh how I dreamed of that amazing kitchen. I wanted a stove that could hold up to the multitude of cooking I desired to do. I wanted a fridge that I could climb in on those extremely hot days. But above all, I wanted cabinets and counter space. I wanted to spread out in my kitchen and have space to chop and prep and bake and cook and cool. (you get the idea) It just wasn’t in the budget. I had to make do for 4 years. 4 years I took on the challenge of an amazing balancing act. I would balance cutting boards while chopping. I would balance food processors as it processed. I would even balance mixers as they mixed. I had gotten shockingly good at my balancing act, but it was all about to change. A new adventure was about to start.
 |
 |
 |
 |
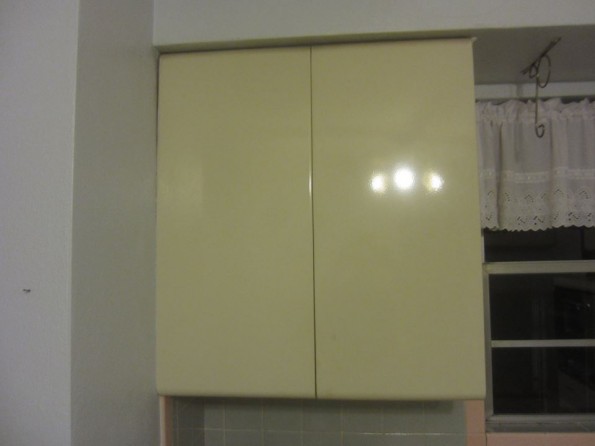
It started with a friend who was moving into a new home. She had cabinets. Nice metal cabinets that she wanted to get rid of for her own kitchen redo. My first thought was “Is she nuts? She already has cabinets and she wants to start over?” But I understood. She had the dream of her own fantasy kitchen and who was I to tell her no? Tomithy and I talked about the cabinets for about 5 minutes, literally, and decided it’s now or never and we jumped on
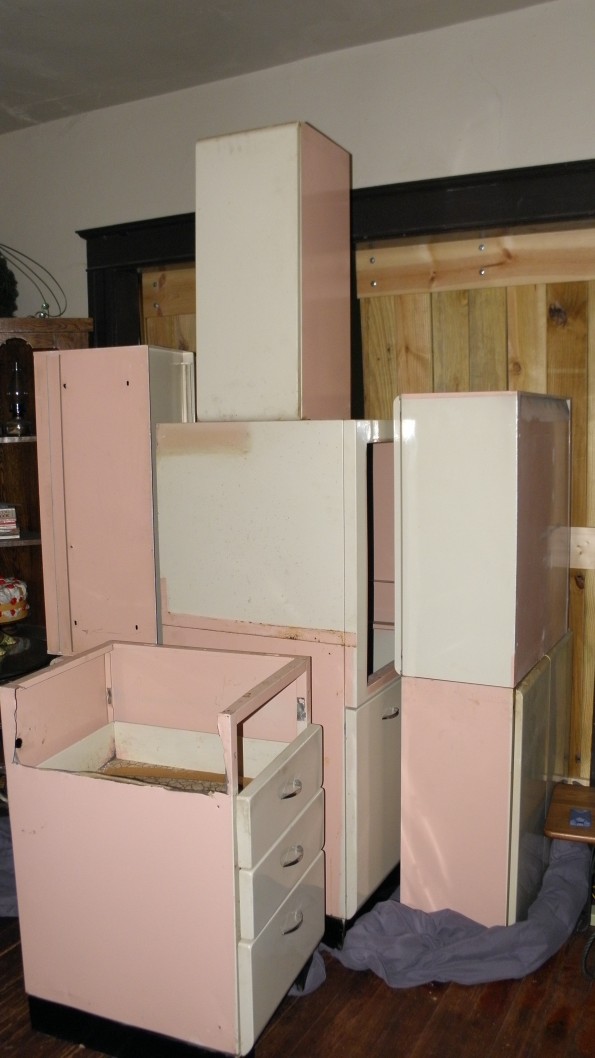
those metal cabinets with all the gusto we could muster. We just HAD to have those cabinets. We would never be able to afford nicer cabinets, and our healthy appetite took over. We called my parents, loaded up the trailer and we went and bought those cabinets. And that is when the fun REALLY began.
What was I thinking? Was I insane? Why in the world did I sign up for my house to be flipped upside down when I had cooking to do and school to prepare for and a household to run? We brought my new cabinets into my house and placed them right smack dab in the middle of the living room. It was the only place they would fit and I had to clean them and paint them before they would even fit in the kitchen. Would they fit in the kitchen? Oh my goodness….what if they DON’T fit in the kitchen? I will forever have cabinets in my living room! My panic became overwhelming and I had to get to work right away. I couldn’t allow my house to stay this way. I had to get things moving forward.
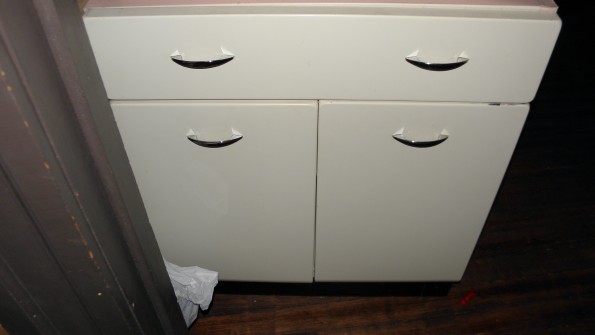
I started by cleaning the cabinets. I had high hopes that they wouldn’t need a fresh coat of paint. As I cleaned and scrubbed them the situation began to loom over me like a bad dream. These cabinets weren’t going to be a scrub and hang situation. I had to paint them. So I started removing handles and sanding down the paint and I started painting.
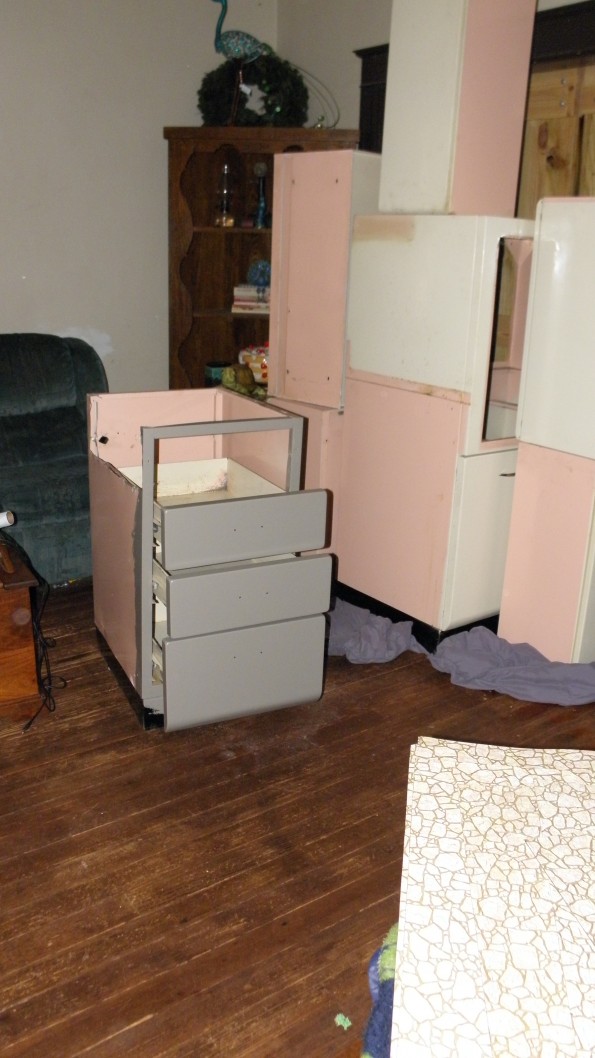
I decided to paint them the same colors that are already in the kitchen. I got 2 fresh coats of paint on them and they were looking amazing. I was so proud of my work and I was ready to get them moved outside to spray paint the clear coat on them. So Tomithy, Samari, and I hauled the freshly pained cabinets outside. We had them set up on paper so they weren’t laying on the ground, and I started to spray paint. I had never spray painted anything, ever. And after this adventure, I never will spray paint anything again, ever. I finished spray painting 3 of the cabinets and as I was resting my poor finger (who new spray painting was so painful? How do graffiti artist do it?) I looked over at my first cabinet and there stuck to the fresh spray paint was a LEAF!?! I was FURIOUS! As I got closer I noticed several more leafs and dirt and twigs. I turned into the Hulk! I had become the crazy lady yelling at Mother Nature for being a toddler and deliberately ruining all my hard work! I was back to the beginning. I had to start all over again. So the cabinets were hauled back inside and I started sanding, again.
Painting, Round 2. The cabinets were freshly painted and this time I decided to roll the cabinets with polyurethane instead of spray painting. I also decided that doing the clear coat inside would be better. No chance for Mother Nature to interfere, right? WRONG! The polyurethane we opted for was “Fast Drying”. It took 8 hours to dry! I am so glad we didn’t decide to go with the “Slow Drying” polyurethane. We would still be waiting. Mother Nature had to prove to me that my home was no shelter away from her devious ways. Her tools of destruction and annoyance she used this time came in the form of oppressive St. Louis

humidity and a cute 4 legged dog. Pogo joined her plot against me. My own dog. While waiting for the clear coat to dry, Pogo decided to rub against my freshly repainted cabinets and got fur stuck in the polyurethane. So now these cabinets had been painted, clear spray painted, sanded, painted again, polyurethaned and now wearing a sweater. This project was really becoming a pain in my butt! The hunt for paint thinner was under way and I had to get the fur off.
 |
 |
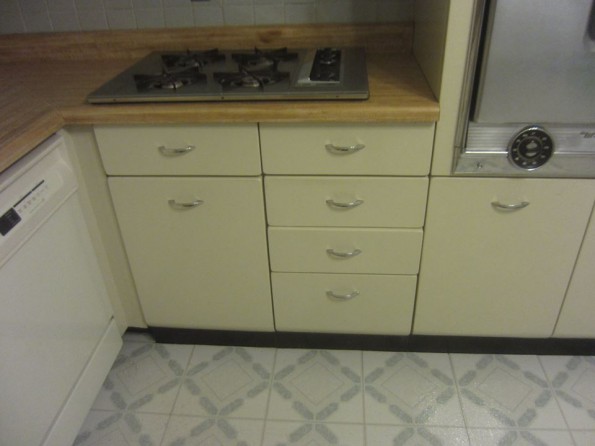
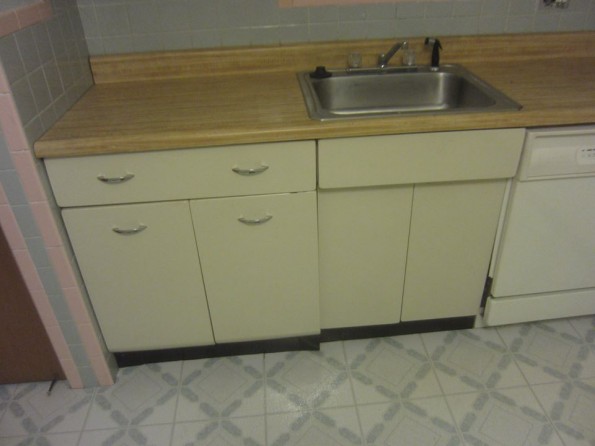
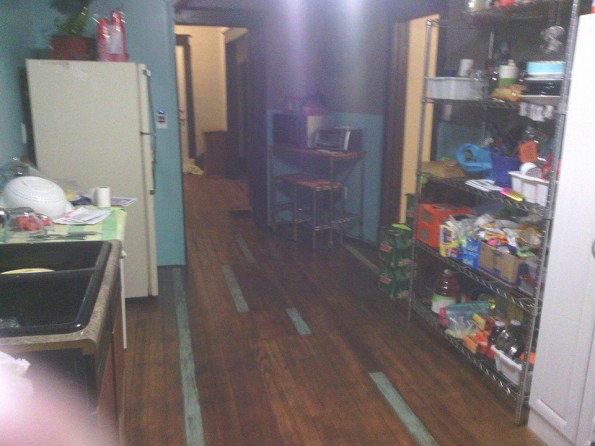
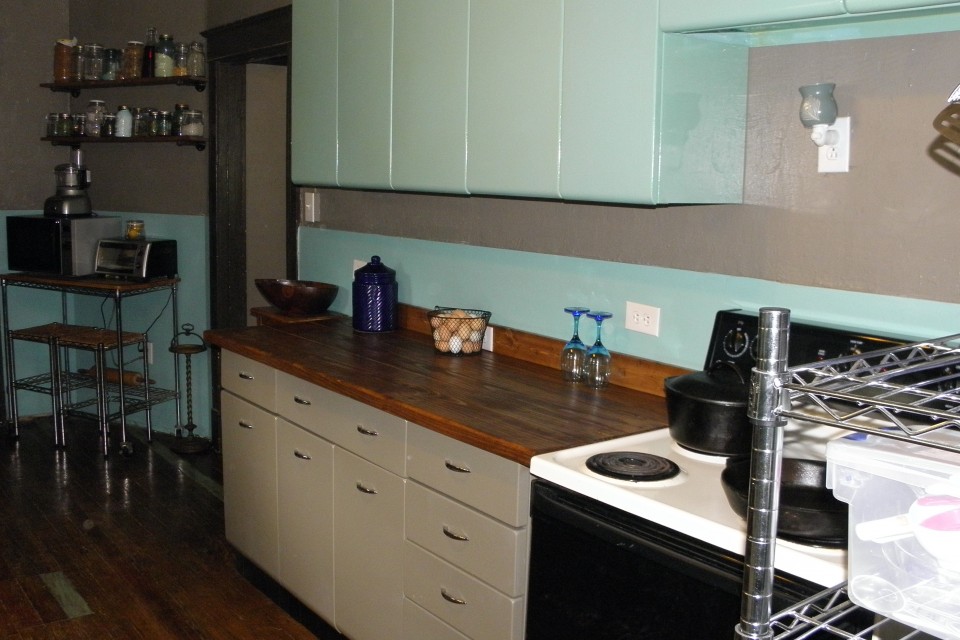
While waiting for the clear coat to dry, Tomithy and I unloaded the kitchen. We removed the shelves and all the food from the kitchen. All of it ended up in our bedroom. I had the biggest walk in pantry a girl could ask for, it even had a bed in it. We started measuring and figured out that where we wanted to put the cabinets wouldn’t work. We had envisioned putting most of the cabinets along the exterior wall, they wouldn’t fit without wasting precious real estate. The really cool corner cabinet and really awesome mid-century built-in oven we bought to serve as an extra just didn’t make sense in any floor plan we tried. They just couldn’t be used. We decided to move the stove to a the interior wall and install the cabinets so that they would extend the counter-top from the stove. Once we knew where the lower cabinets were going, the upper cabinets almost fell into place (on paper at least). Then came the battle of the counter-top. I wanted to just buy one to save on the energy and drama of making one. Tomithy wanted to make one to save on money and to make it unique. Since money is a major factor in this adventure, he won. We decided to make a counter top. We headed to the hardware store for supplies.
We went in the store with a plan. We would purchase the lumber and have them cut the boards to size. They would fit in our car and we wouldn’t need to bother my parents for the trailer. It was all going to work out. It was be less work for us and we could get right home. The boards were cut, we gathered the rest of the supplies, paid and then headed for the car. We were trying to maneuver the boards into the car and just as I was about to say “Wait! Let me move our drinks” BAM! The board came down on the cup holder, broke it off the dashboards and spilled drinks all over the driver side floor board. All I could do was laugh. It was so perfect. The whole situation was really becoming clear. This project was getting more expensive by the minute.
As we drove home with annoyance laughter, we decided shit happens and we should just grin and bare it. Little did we know how much we would be grinning later that night. When we made it home, night had set in and it was dark. We called for the kids to help us unload the trunk and Tomithy started removing boards from the car. And then it happened. The oh so familiar sound of glass breaking followed by a song of colorful words. I didn’t want to go back outside. Tom was removing one of the boards and it was wedged pretty well between the the front seats and the steering wheel. He knocked the board up to unwedge it. Well
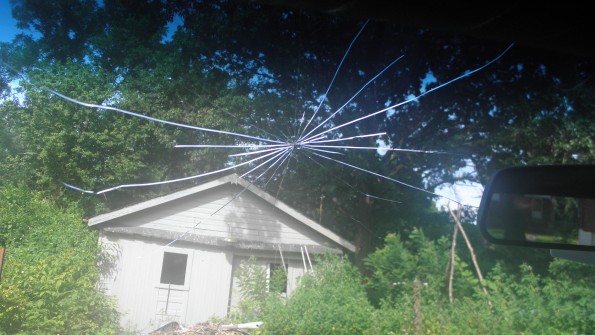
needless to say, my man has the strength of a gorilla. That board came loose and gave the windshield a nice starburst decoration on the driver side of the car.
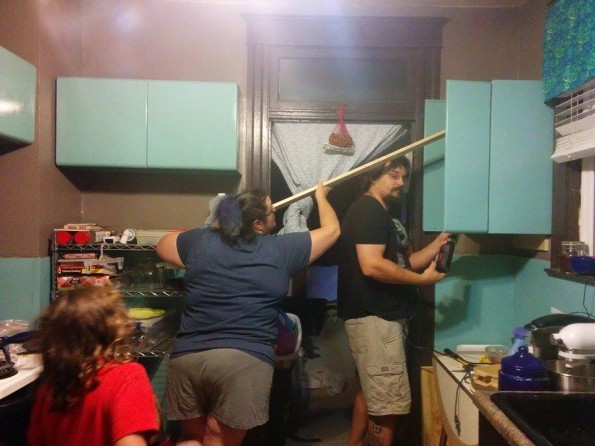
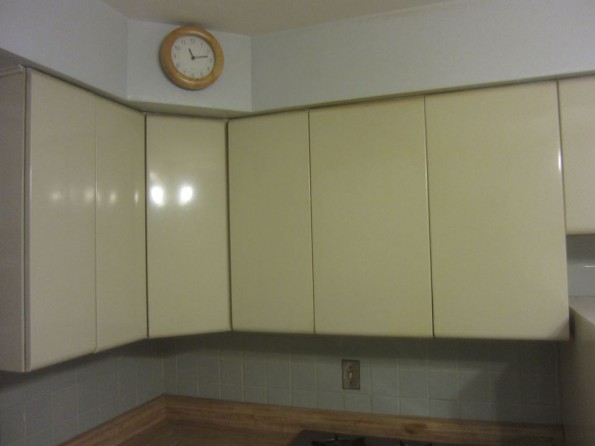
The upper cabinets were hung and the lower cabinets attached to the wall. This part went easier than expected. Tomithy tapped the wall until he heard the studs (high pitch), used a hammer and nail to be sure, and marked the wall when the nail hit a stud. We had bought an extra board that we attached to the wall where we wanted the bottom of the upper cabinets to be. Tomithy placed the cabinet on top of the “ledger board” and I held it in place while he attached them to the wall and to each other. Then we removed the ledger board and filled the holes. The lower cabinets were done in a similar fashion except without the ledger. Also, because the wall had a slight bow, the base cabinets were attached to one 


 another first and a shim was strategically attached to the wall behind the cabinets. It was now time for the construction of the counter top. Tomithy did this part so there aren’t many pictures. We took special time to get the correct sides of the boards picked out. The boards were glued and then he used his Kreg Jig to connect the boards on the underneath side. (This is one of those tools that in not used everyday but has come in handy on more than one project.) He used his belt sander with 40 & 80 grit sand paper to remove the stamps and major nicks on the boards. He then took a router and rounded the front edge of the counter top. After sanding the counter to a nice smooth finish with 220 grit, we vacuumed the top and then took a damp rag and removed any remaining saw dust.
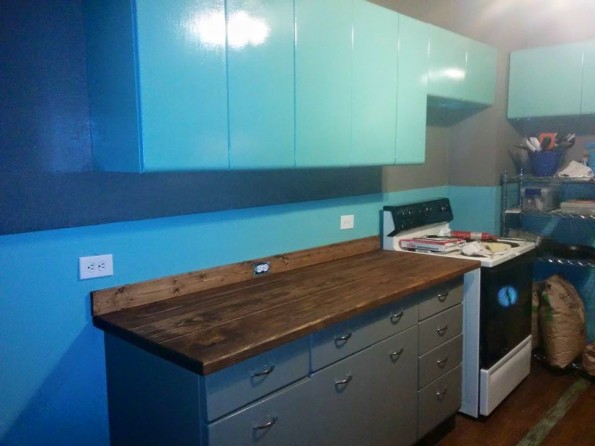
Now time for the finish. We took a walnut stain and stained the wood. After allowing the counter top to fully dry we then put on 3 coats of Butcher Block Oil. This is an oil that is food safe and it also will help protect the wood from the wear and tear I plan on putting it through. We then connected the counter top to the lower cabinets with short screws after shimming out a slight wobble.
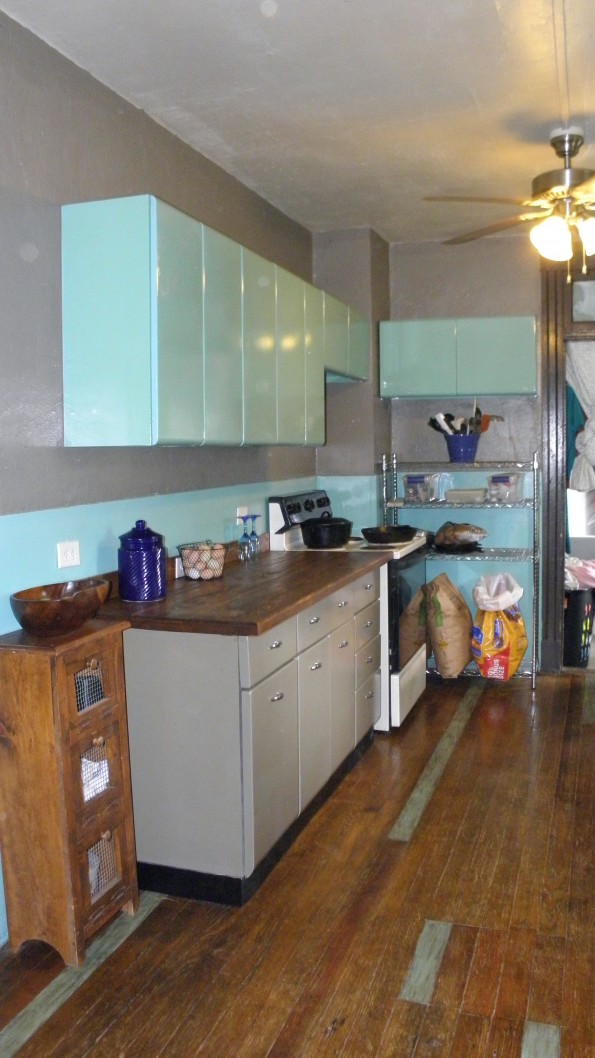
This adventure has had its ups and downs. It has proven to challenge us at every turn. But the most important part that we have taken away from this project is that we have learned so much. Like every great adventure there are lessons to be learned. We learned that spray painting outside is only OK if you have a box large enough to spray paint in. Do not polyurethane in an area where animals can
“help”, it won’t end well. Polyurethane takes forever to dry, especially if the humidity is high. But you at least feel really good while waiting for it to dry. Hooray for Contact Highs! We also learned that asking for help is OK and cheaper in the long run. And when you put in all the blood, sweat and tears you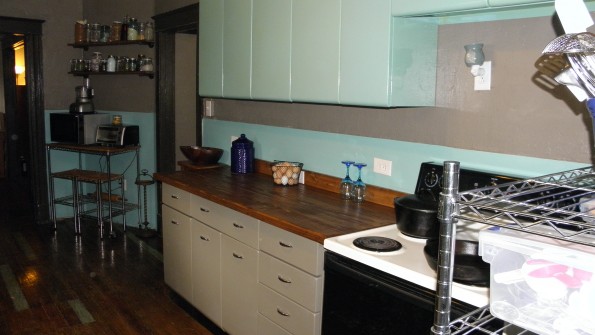 rself, you really enjoy the finished product that much more.
Our expenses:
| Cabinets: | $100 |
| Lumber: | $30 |
| Polyurethane: | $35 |
| Paint: | Leftovers $0 |
| Spray Paint: | $6 |
| Misc Hardware: | $30 |
| Windshield: | $250 |
| Total: | $451 |
It looks so good Mariah! I love reading about the adventures your family has and think you are a warrior woman!