Ingredient List
4 C Prepared Raspberry Juice
1 Box Pectin
5 1/2 C Sugar
We always get an abundance of raspberries from our homestead. Since we usually freeze the raspberries, I usually wait until I have enough to do a big batch for jelly or jams. I decided to use the raspberries this time around for Seedless (well mostly…) Raspberry Jelly. The biggest difference between raspberry jam and jelly is that you use just the juice for the jelly by removing the seeds and pulp. Just so you know, I always double my recipe. You NEVER want to double it in the same pot. Always do 2 different pots of juice when you are making jelly. It does matter! The pectin doesn’t do what it is supposed to do if the recipe is doubled. Here is how I made my Raspberry Jelly!
 I start buy cooking my raspberries down. I just warm the berried enough so they can help remove the natural juices from the berries. I use a potato masher to help with smashing the berried to remove the juice.
 To remove the juice from the seeds and pulp, I use my cone strainer and smash the berried. I place the cone inside of a pot to collect the berries. Do this in small enough amounts to allow for easier extraction of the juice.
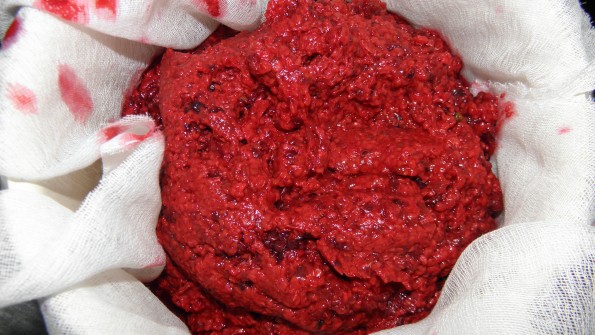 I then use cheese cloth and a strainer and drain the rest of the juice from the left over pulp. This will help collect the seeds and also get that last little bit of goodness from the berries. After this step, I then, take the juice and run it through the cheese cloth to collect any seeds that have weaseled their way through the strainers.
 Now that the juice is ready, I pour 4 cups of the juice into a pot and add in the pectin. Start heating the juice and pectin up and mix the pectin in until it is dissolved. Bring this mixture to a rolling boil for 5 minutes. Be sure to stir this so it doesn’t burn.
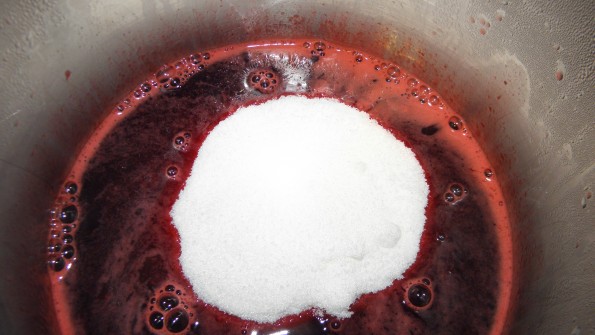 After the pectin and juice has boiled, it is now time to add the sugar. I know this seems like a lot of sugar, but this is jelly! You want to stir the sugar in and bring to a boil for another 3 minutes.
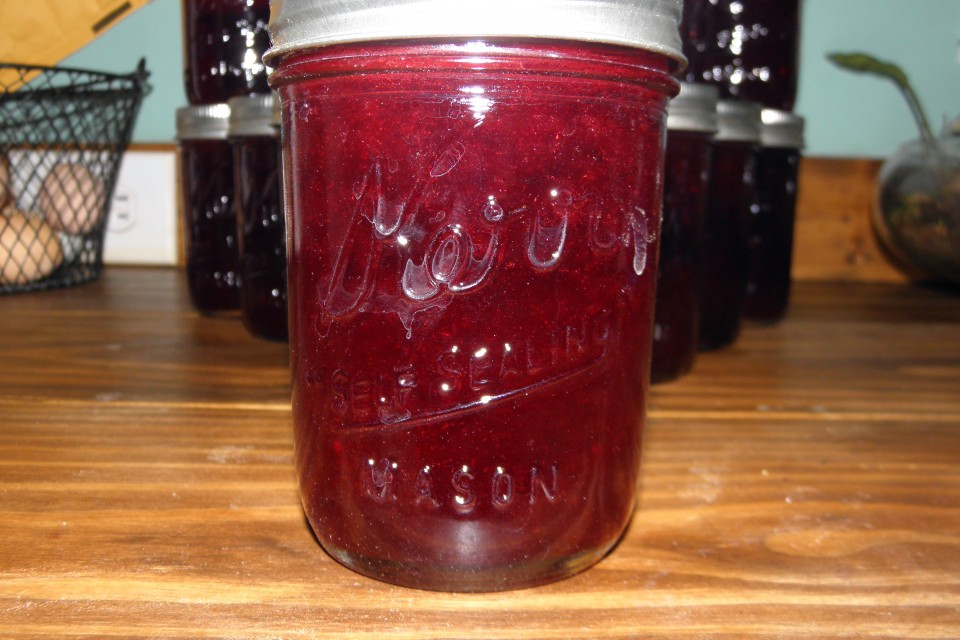
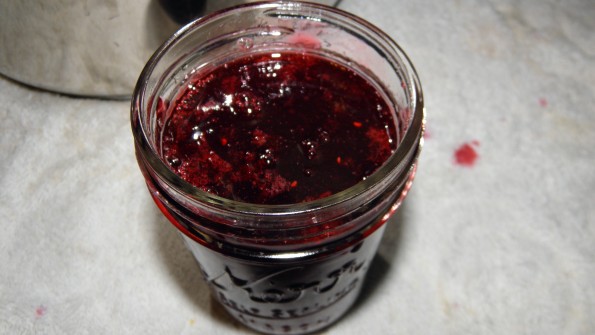 Now it is time to add the jelly to the jars. Be Sure To Use Sterilized Jars. You can sterilize your jars and lids and rings by boiling them in hot water for a few minutes. Then it is important to keep the jars and lids hot while getting the jelly into the jars. I leave a 1/2 – 1/4 inch head space on the jars. (Don’t mind the little seeds that sneaked through….LOL)
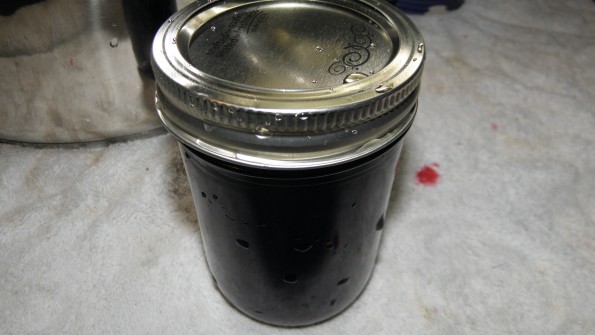 Take a damp cloth and wipe down the lip of the jar. Be sure there isn’t any sugar and seeds or jelly on that rim, otherwise the jars will not seal during processing. Place the hot lid and rings on the jar. The ring needs to be snug but not tight.
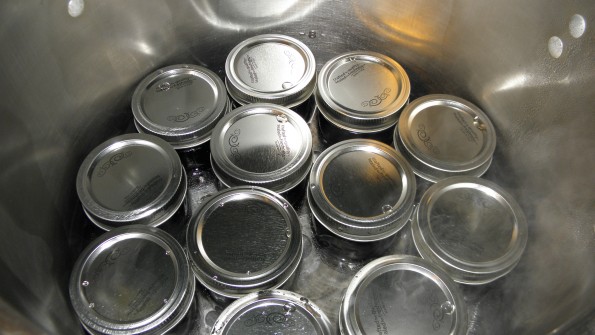 Now it is time to place the jars into the water bath. Always raise the jars off the bottom of the pot with a tray so the jars don’t get too hot and crack on ya. I also start with hot water in the pot so the jars don’t go through shock from being HOT to COLD. Remember- I have doubled my recipe in 2 different pots for the cooking of the jelly, that way I can have a full water bath.
 You want the water to be at least 1 inch over the top of the jars. I usually do 2 inches of water so I know they are safe and the water will be high enough over the jars and not evaporate. Cover the water bath and bring it to a rolling boil. Boil the jars for 10 minutes.
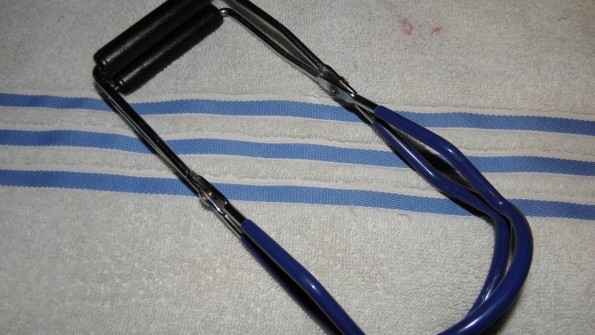 This handy tool is called a jar grabber or lifter. It is a WONDERFUL MUST HAVE TOOL when canning. It helps you remove the processed jars without getting burned. If you are canning, you really need this tool.
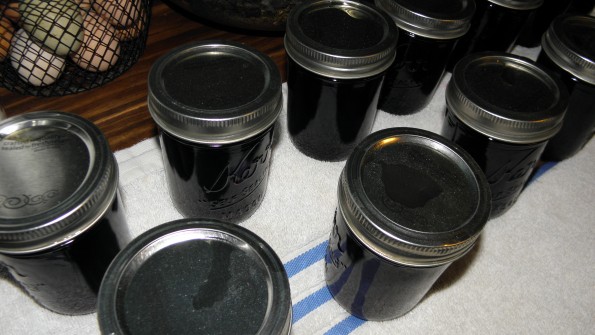 After the jars have been processed, remove them from the water bath, very carefully, and place them about 2 inches apart on a folded towel. You will start to hear the “Pings” of the lids sealing. This is music to my ears! Allow the jars to sit, undisturbed for 12 hours. Then you can remove the rings to the jars that have sealed and label the jars.
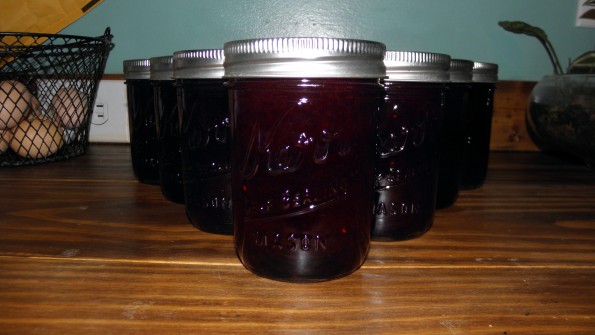 If any of your jars didn’t seal, you can just store the jelly in the fridge until you are ready to use. My recipe makes about 8 half pints of jelly!
0 comments on “Raspberry Jelly”Add yours →