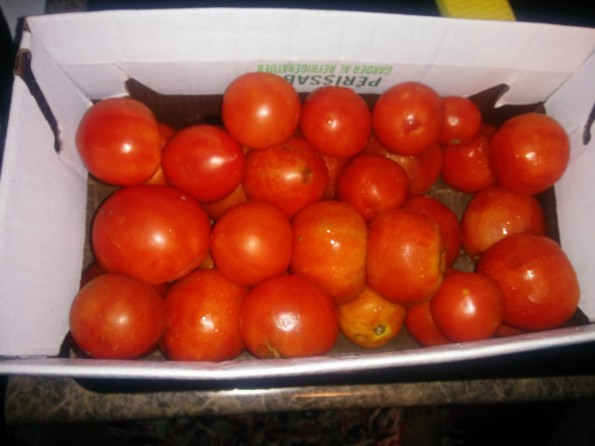
Our wonderful neighbor blessed us with this box of tomatoes from his family farm. We are so fortunate to have friends who share the same lifestyle and interests as us. We got these tomatoes at 9ish in the evening. They were really ripe and I didn’t have any where to store them to keep them safe from fruit flies. So we started canning tomatoes. Many people wonder why I pressure canned them since they don’t HAVE TO BE Pressure canned. You are right! Tomatoes have an high acid level so I could have water bathed them. I knew I was going to be using these tomatoes in sauces, so I wasn’t concerned about the tomatoes getting over cooked. Here is how I Pressure Canned the Tomatoes.
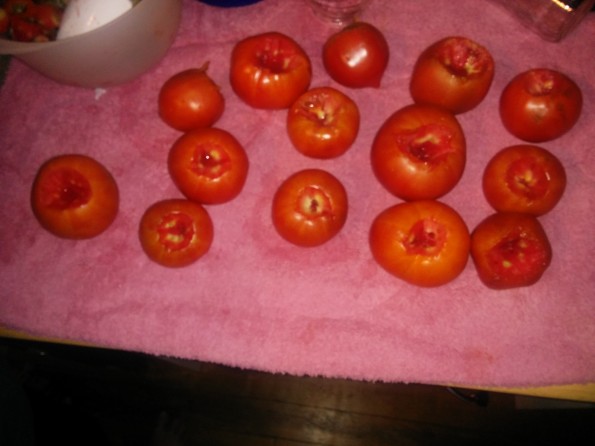 The first step to canning tomatoes is prepping them. I removed the core and any bad places on the tomatoes.
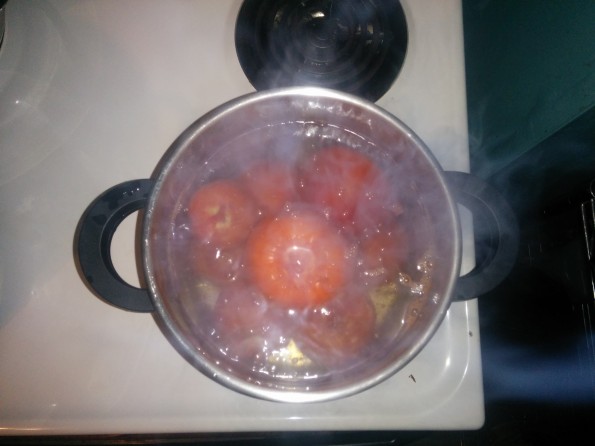 Then we placed a few in boiling water for about 60 seconds. This is the first step in blanching the tomatoes. You blanch the tomatoes so the skin easily peels off.
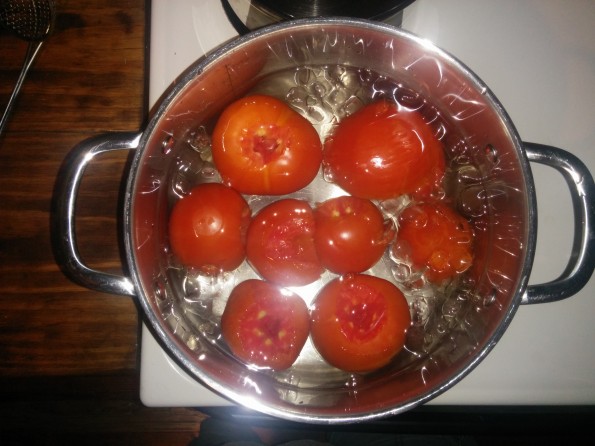 Then you place the tomatoes in ice water for about 45 seconds. The rapid cold helps separate the skin from the meat of the tomatoes.
 See, the skin peels right off. Don’t throw away the skins though. They can be dried in a dehydrator or oven and used later in soups.
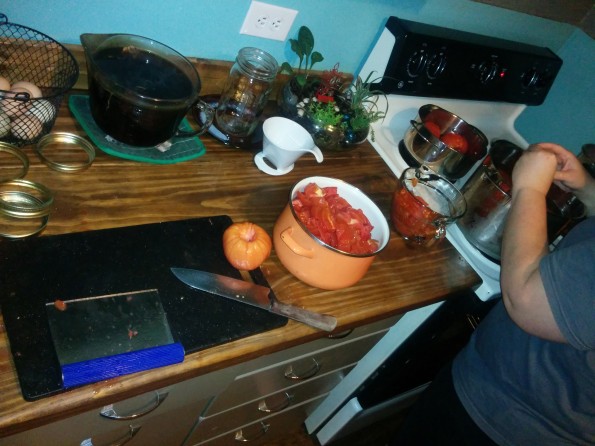
Any type of canning causes your kitchen to be a huge mess. This is not a hobby for someone who needs a crazy clean and organized kitchen. My kitchen is clean, unless I am canning. It just is a mess but so worth it in the end.
After the tomatoes are blanched, I start dicing them and setting them aside until I have enough to can.
 Now I have enough diced tomatoes to fill jars. A couple things to remember. 1- ALWAYS USE STERILE JARS, RINGS, LIDS and CANNING UTENSILS! 2- Always use hot jars, lids and rings. You will first put 2 Tb. of Lemon Juice Concentrate in each jar. Then fill the jars with the diced tomatoes, leaving a 1/2 inch head space. I use a knife to release any air bubbles in the jars. Ripe the rim of the jars with a damp rag, removing ANY and ALL debris from the rim. Place a lid on and tighten it down with a ring. Do not tighten too tight. You want it snug and not super tight.
 I put about 2 inches of HOT WATER in the bottom of my pressure canner. I then start loading up the canner with my prepared jars.
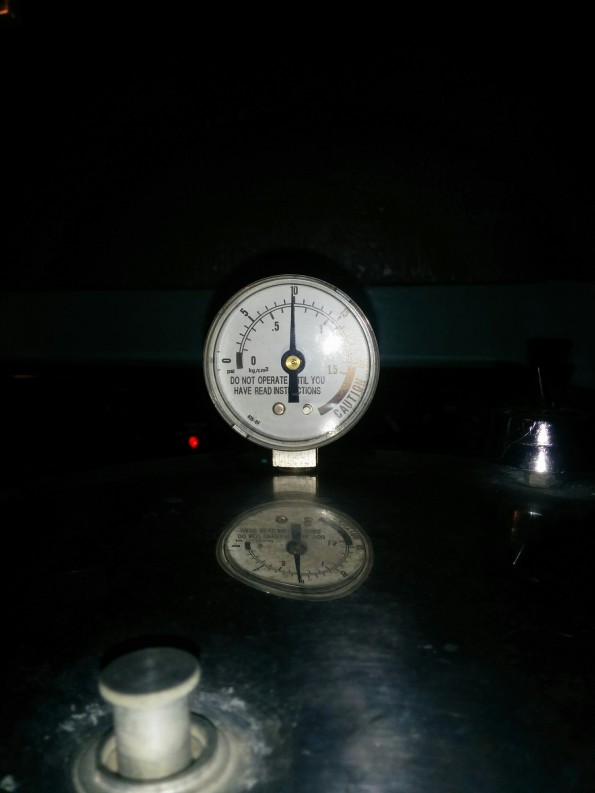 Once the canner is full, fill the canner 1/3 of the way with water. If you have never used your canner before, be sure you read the instructions for your specific canner. All of them have different rules. I started to watch the pressure rise on my gauge. When my gauge reaches 10 pounds of pressure, I can start the timer. It needs to be at 10 pounds of pressure for 25 minutes. If the pressure drops below 10 PSI then I have to start the timer over again. The amount of pressure depends on your elevation of your kitchen. So the higher your elevation above sea level, the more PSI you need. Always check your elevation with the National Center For Home Food Preservation.
After the tomatoes have pressure canned for the 25 minutes, you turn off the stove and allow the pressure to release slow and naturally. Once the gauge has reached 0, you can remove the jars and place them on a bath towel to cool. BE CAREFUL! The jars will be hot.
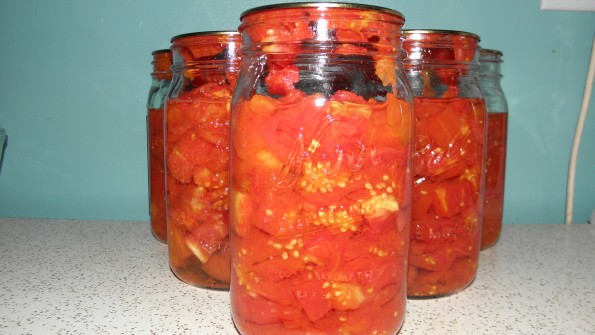 I also want to point something out with my tomatoes. Do you see how they have a much larger head space on top? This was my fault. I was rushing trying to get them finished (and only working on about 6 hours of sleep in a week….) and I didn’t allow the jars to cool enough inside the canner. So because the jars did a rapid cool, it caused the fluid inside the jars to evaporate. This isn’t a BAD thing, as long as you still have 75% fluid still inside the jars when they seal.
After the jars are sealed, remove the rings and wash the jars down. They may have a residue on the outside of the jars. I usually wash all of the jars just to be safe.

0 comments on “Pressure Canning Diced Tomatoes”Add yours →