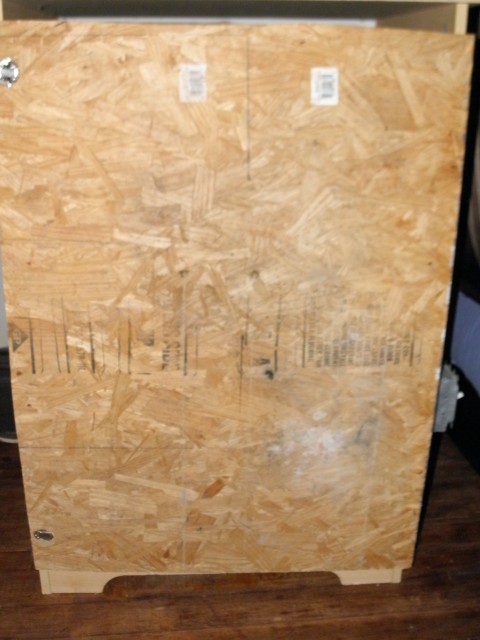
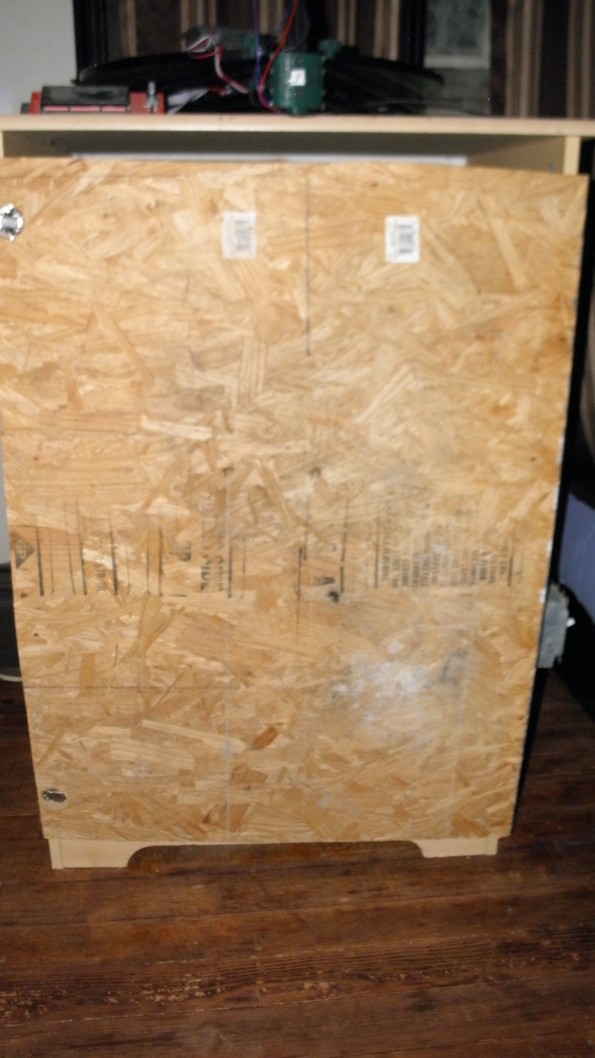
 I know what you are thinking! I had the same thought when Tomithy brought it into my living room. Good Night This Thing Is Ugly! Yes, yes it is. One day I may decide to paint it. But at this point, I doubt it. It WORKS WONDERFULLY! I have grown to love this big-blocky thing that sits in the living room for half the year. If it weren’t for this thing, I believe a lot of food would go to waste around here. It holds a lot at one time and does a great job dehydrating herbs, vegetables and fruits. I wouldn’t use this to do meats, but for your garden harvest, YES YES YES!
Let me do my best to explain the dehydrator. Tom found an old dresser that we removed the drawers from. We cleaned up the inside and started the construction of the beast!
 Tom wired the bottom of the dehydrator with electric. We now use 2 200W 110V Ceramic Infrared Reptile Heater Lamp Bulbs to heat the dehydrator, but we started out just using 2x 100watt light bulbs. That is all it takes. Those suckers really put out a nice heat to rise through the trays. We have a small opening in the door to help the air circulate through the trays.
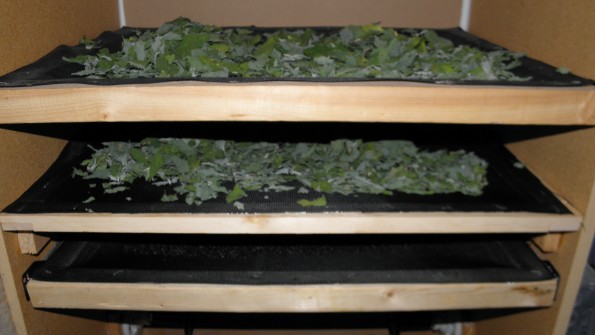
 Two of the trays are mounted with these easy slide drawer holders. They keep the trays straight and also keep the trays from falling out when loading/unloading/and tossing the contents of the shelves. The drawer slides were only used because they came with the dresser. a few blocks of wood does the same job on the third tray.
 Right now we have 3 shelves. The shelves are made with a frame of wood and some screening. The 2 shelves on drawer slides are 2×2’s the other is 1×2 with a support (without the support down the middle the others’ screen sags a bit). We just formed the frames, attached the slides and stapled the screen to the top. We will be upgrading the amount of trays with in the next year. Right now we are drying Lambs Quarter and Elderberries. We have dried MANY MANY things in this dehydrator. Potatoes, mints, lambs quarter, berries, herbs, and onions….to name a few. I don’t suggest dehydrating meats in this dehydrator. It doesn’t have a thermometer to regulate the temperature… but for anything else that is grown in your garden, you can do a bunch at one time!
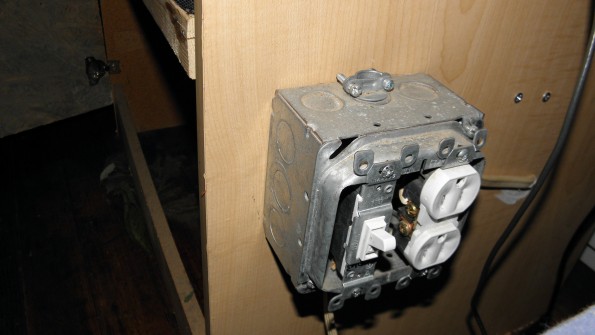
 Tom put a switch on the outside of the dehydrator so we can turn it on or off easily and he also gave me an extra outlet for easy access, since the dehydrator hides my other outlet. I suggest placing a cover over the outlet for safety purposes. (one day I’ll get around to it)
 It was fairly easy to make. And the best part, its CHEAP! We got this up and running from scrap lumber, a junk dresser, 2 light bulbs, left over wiring/hardware and 2 brand new light fixtures. Total cost for a working dehydrator: less than $10… possibly free! We have a bit more into it now with the heat lamps (additional ~$10) and plan to one day add a few additional features like a light, thermometer/regulator, better door, more trays, etc. But it works just fine without all that extra stuff.
So there it is, in all its glory! It is nothing fancy. It takes up a lot of room. It is big, bulky, and ugly. But, it is the best dehydrator I have found for the amount it drys in the time that it dries.

0 comments on “Homemade Dehydrator”Add yours →