Ingredient List
10 C Onions, sliced to desired thickness
2 Tb. Kosher Salt
Ice
3 Pinches of Tumeric
3 Tsp. Mustard Seed
1 1/2 Tsp. Celery Seed
1 1/2 C Brown Sugar
3 C White Sugar
4 1/2 C White Vinegar
2 1/4 C Apple Cider Vinegar
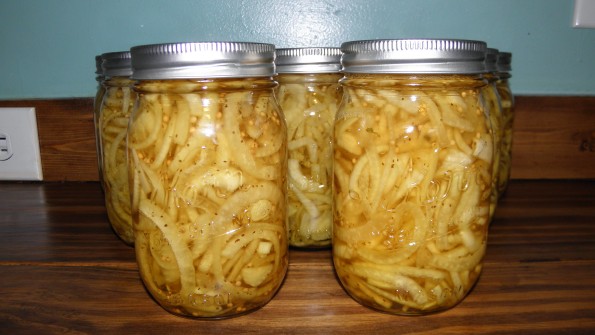
So, I had this idea. I love the onions that are pickled with my cucumbers when I make Bread and Butter Pickles. So I decided, why not pickle just the onions! They add a nice pop of sweet onions to many dishes. And, they are shelf stable as well! Here is how I made Bread and Butter Pickled Onions.
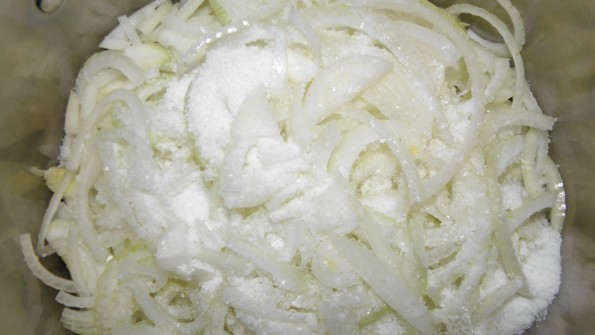 I start by slicing my onions and separating them into a giant pot. The pot/bowl you use needs to be large enough to hold the 10 cups of onions and needs to also have enough room to toss the 2 tablespoons of salt. You want to toss the onions in the salt to make sure the salt is mixed in really well. The salt helps remove the extra water from the onions.
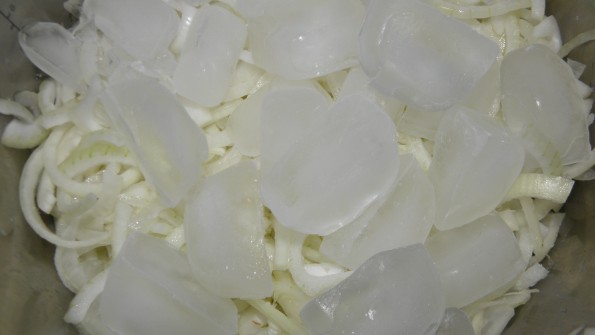 Next you want to cover the onions with ice and water. This helps make the onions a little tender and also aids in removing the extra water in the onions. Soak the onions for 30 minutes.
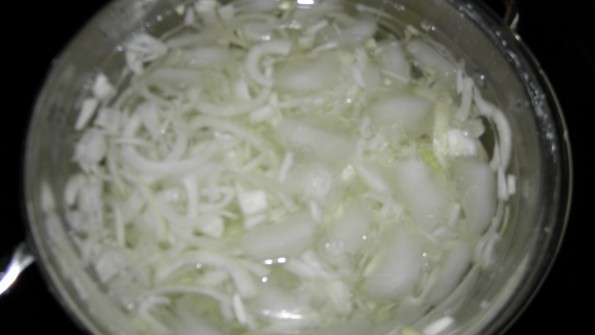 Next I cover the pot with a plate for 2 reasons. 1- It helps the onions stay under the water and 2- It keeps any daring bugs and animals from getting into the onions as they soak.
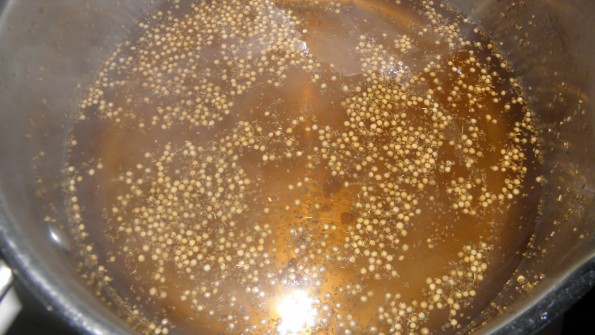 When the onions are about finished with their 30 minutes soak, I start making the pickling syrup. I bring the turmeric, mustard seed, celery seed, sugars, and vinegar’s to a boil. Stirring the mixture until the sugars are fully dissolved.
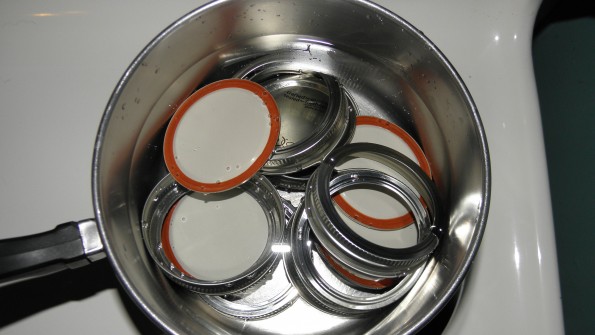 While the syrup is going, start preparing your jars and lids for the canning process. Make sure everything is sterile and safe for canning. Make sure your jars are not chipped or cracked. Be sure your jars and lids are hot so things will be canned properly!
 About this time, the onions should be done soaking. Be sure to drain and rinse the onions really well. You don’t want the salt on them anymore. So be sure the you toss them as you rinse them.
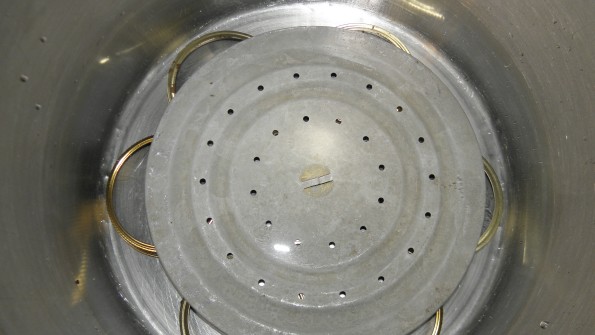 When canning, it is always a good idea to have your pot set up properly. You want to make sure the jars are not touching the bottom of the pot. I use a combo of rings and a tray to help raise the cans. I also put some water in the pot to start heating up. You do not want to take hot jars and place them in cold water… you want things to be pretty close to the same temperature.
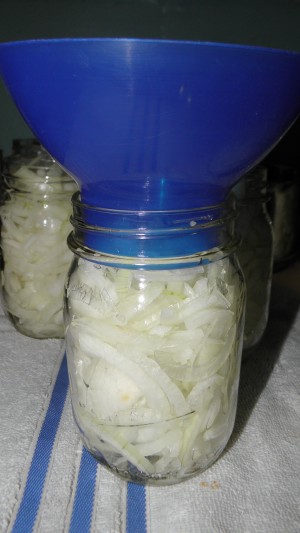
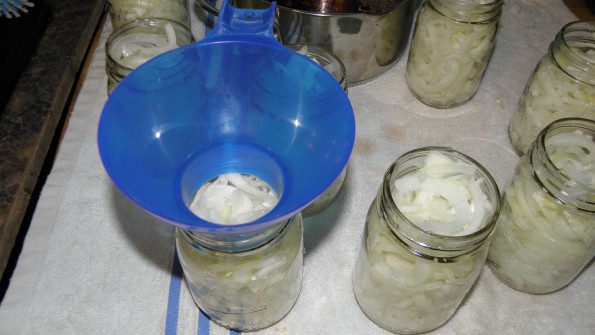 Now we can start canning! I take the hot jars and fill them with the onions. I pack the onions into the jars. This recipe does about 9 pints. I fill the jars until they have (roughly) 1/4 inch head space.
 Now it is time to fill the jars with the syrup. Again, fill the jars and leave a 1/4 inch head space. Run a knife down the insides of the jar to knock loose any bubbles that may be in the jar. Once the jar is full, you need to take a damp rag and wipe the tops of the jars. You do not want ANY THING ON THE TOP! No seeds, sugar, onions…nothing! I can not stress this enough. I usually wipe the ridge and down the inside a bit too. After using the damp rag, I also run my finger around the top, just to be sure there is noting there. Then take your hot lids and place them gently on top and snug the ring on top. The ring needs to be snug but not super tight.
 Remember the water has already been warming so be careful! Not place the prepared onion jars into the water bath. Then cover the jars with at least 1-2 inches of water. The jars HAVE TO BE COVERED IN A WATER BATH! It is different than pressure canning. Place the lid on the top of your pot and bring the water to a HARD ROLLING BOIL! The pints need to boil for 15 minutes, according to the National Center for Home Food Preservation. When canning a few things need to be remembered. 1- Are you water bathing or pressure canning? 2- What size are you canning? 3- What are you canning? 4- What is the altitude you are canning at?
National Center For Home Food Preservation is a good website to have on hand.
 After the 15 minutes of the hard boil is done, you VERY CAREFULLY use the jar grabbers and remove the jars. THEY WILL BE HOT! Place them on a towel about 2 inches apart so they can cool. You want them to be in a place where they won’t be disturbed for 24 hours. This is one of my favorite parts. Listen to the “Ping” sound the lids make when they seal! It makes me happy when they all seal! IF you have a jar that doesn’t seal within 24 hours, you can place the pickled onions in the refrigerator for up to 4 months.
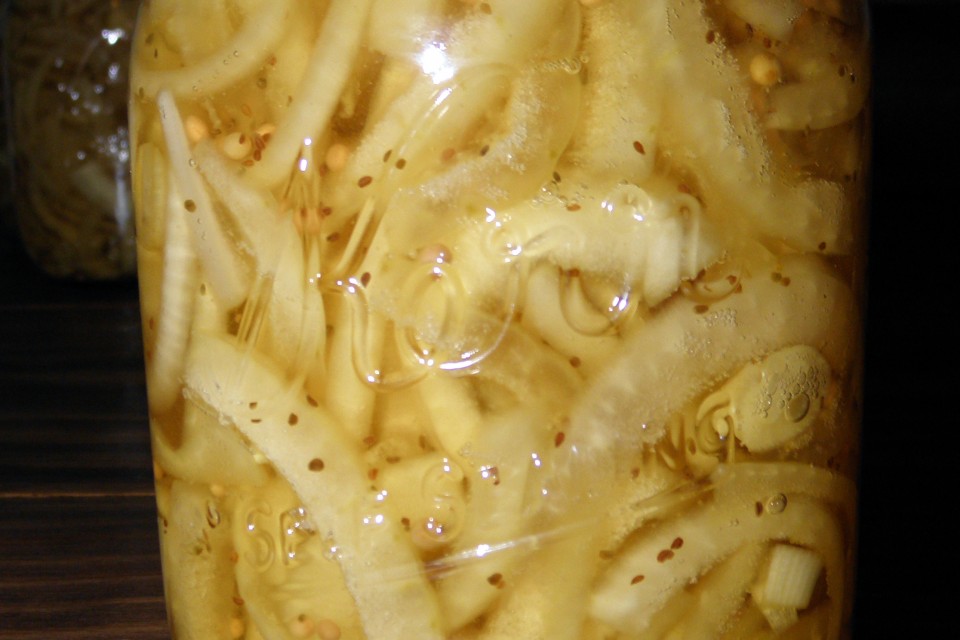
Now we wait… it will take several weeks in order for the onions to be officially pickled. When you can’t stand it any longer, go ahead and open the jar and give them a try!
0 comments on “Bread and Butter Pickled Onions”Add yours →